What to expect from a lead service line replacement program
A typical lead service line replacement program includes an inspection, construction, actual replacement, and flushing. Learn more about what each step entails below.
review, inspect, locate
Before work begins, a utility representative may contact you to review the service line replacement process and inspect the inside of the house. Utilities may require you to sign paperwork (a right of entry form or replacement agreement) which gives contractors permission to access your property and remove the portion of the service line that you own.
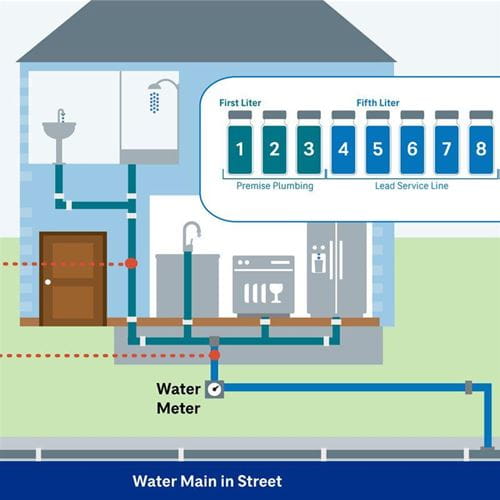
During the inspection, the contractor will check where the water meter is, where the service line enters the property, and to test if you have a lead pipe. If the pipe is lead on the portion you own, we recommend you sign the right of entry form to have the pipe replaced. If only the service line from the water main to the curb is lead, then that portion will be replaced and reconnected by your utility.
construction day preparation
On construction day, water service will be turned off for no more than 8 hours, and some sections of your street may be closed for a portion of the day. Many service line replacements may take place at the same time in your area – construction workers and machines could be in your neighborhood anywhere from a day to a few weeks.
The property owner, or a designee 18 years or older, must be on site while contractors complete the replacement. This will take less than a day. They will take “pre-construction” photos of the yard, the street, and where the service line enters the house to ensure everything is brought back to pre-construction conditions.
service line replacement
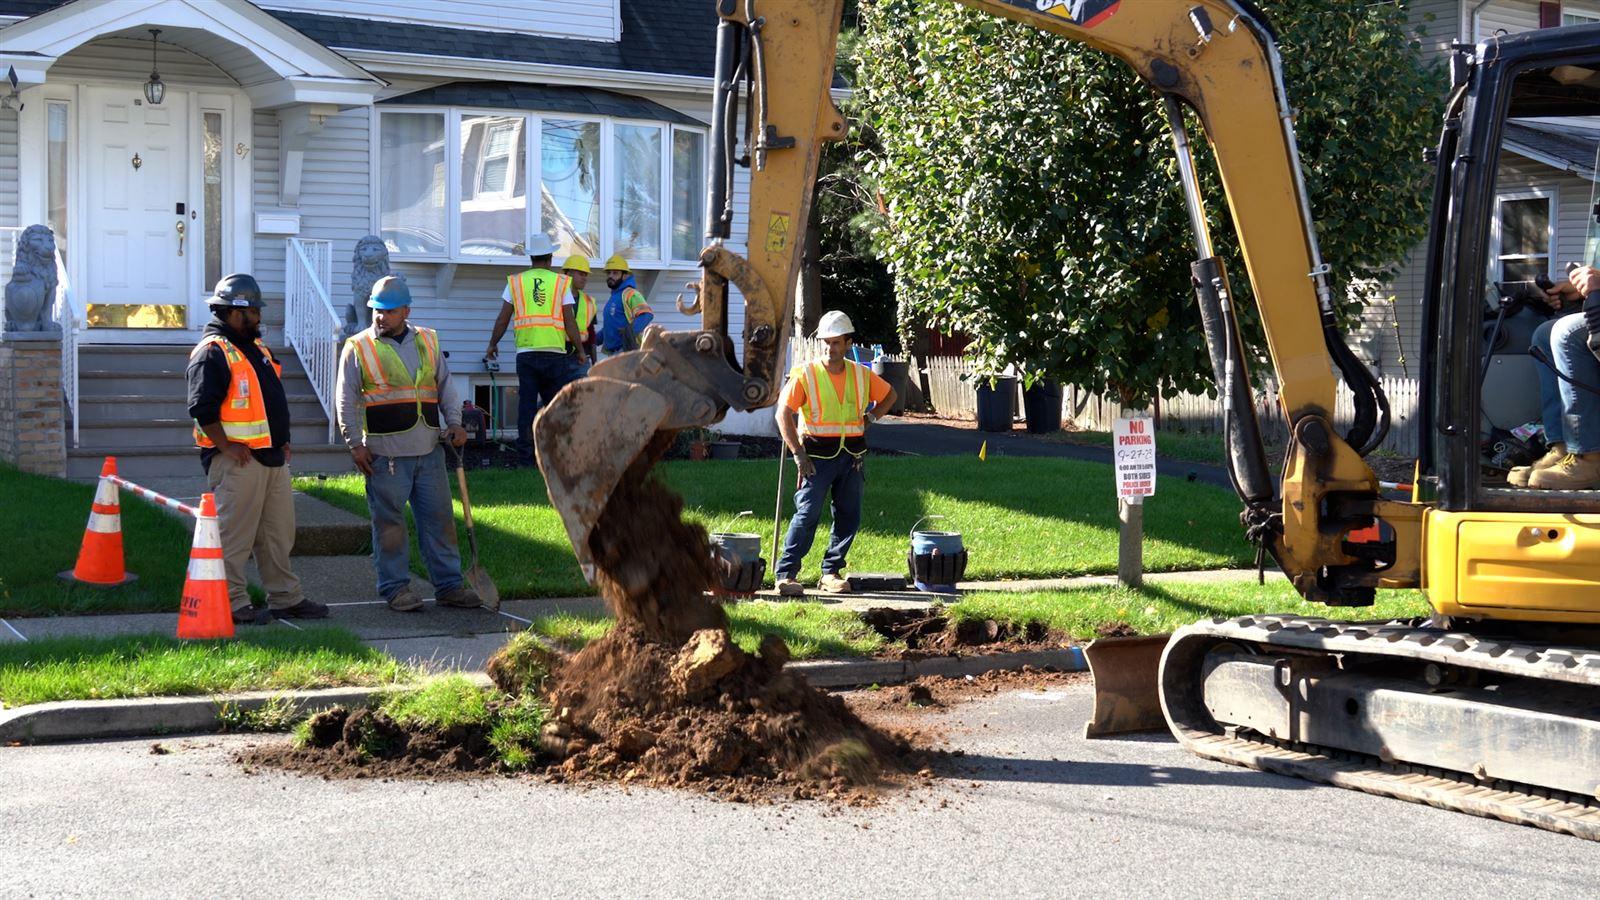
Contractors will use a backhoe to dig a hole at the curb stop and in the street to access the service line and water main. Crews use trenchless methods to disturb your property as little as possible.
Trenchless pull-through method: disconnects the old service line from the street water main. Inside the house, crews detach where the line connects to plumbing. A cable is fed through the old service line with a coil attached to one end of the new pipe. The crew uses equipment to pull the cable with the lead service line and the new pipe through the ground. The new pipe is then connected to the water main.
Boring or push method: disconnects the old lead service line from the water main and leaves the old pipe in the ground. The old service line is no longer functional and can’t contribute any more lead to your drinking water. A boring machine drills a hole for the new service line, and crews attach the new pipe to the drill and pull it back through the hole. Finally, they connect the line to the water main and your indoor plumbing.
the flushing process
Crews will perform an important process called flushing to remove any remaining lead particles from inside the pipes. The contractor will leave steps for how to flush the rest of the house to remove any remaining lead particles. The process is very important and involves running ALL taps inside the house for at least 30 minutes to flush out the lead.
After flushing, the EPA strongly encourages customers to use a filter certified to meet the NSF 42 and 53 Standards for removing lead in the pipes for drinking and cooking water for 6 months after the service line is replaced. The EPA also recommends that you clean out all aerators on the ends of your faucets and periodically run your water to remove any collected lead particles. Your utility will offer to sample your water 3 to 6 months after replacement to confirm low lead levels.
This article is based on federal regulations. For specifics on your community's program, contact your water utility to learn more.


